Building Your First Outdoor Environment
Start with terrain sculpting, vegetation placement, and basic landscape composition.
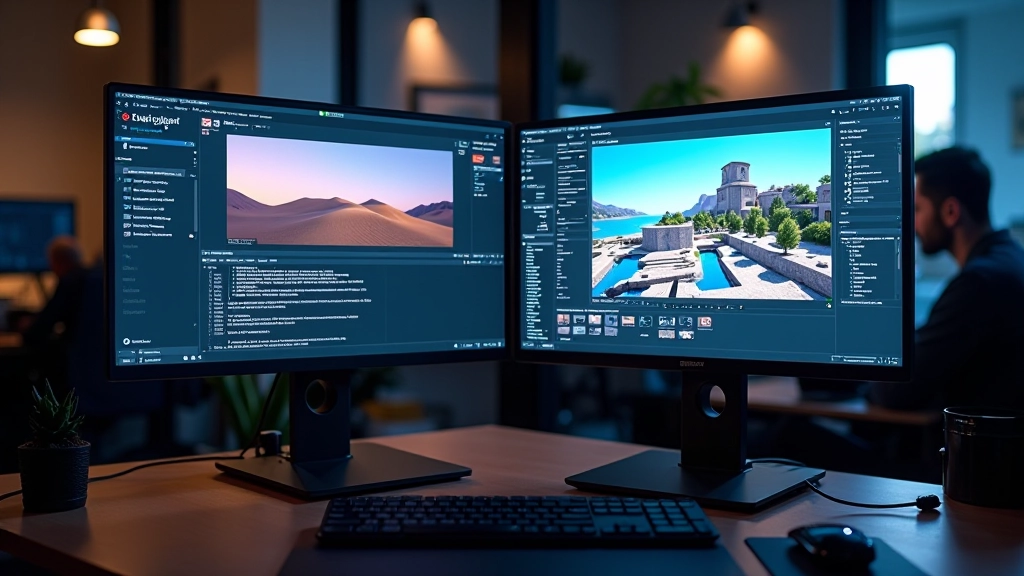
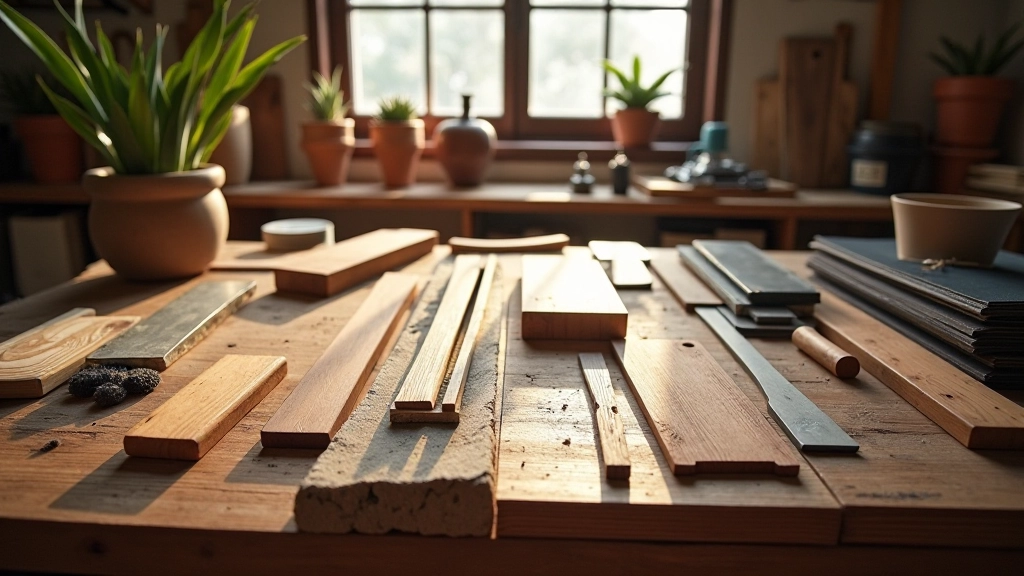
Learn how to craft convincing surface properties that bring photorealism to your virtual worlds. From basic PBR principles to advanced material blending techniques.
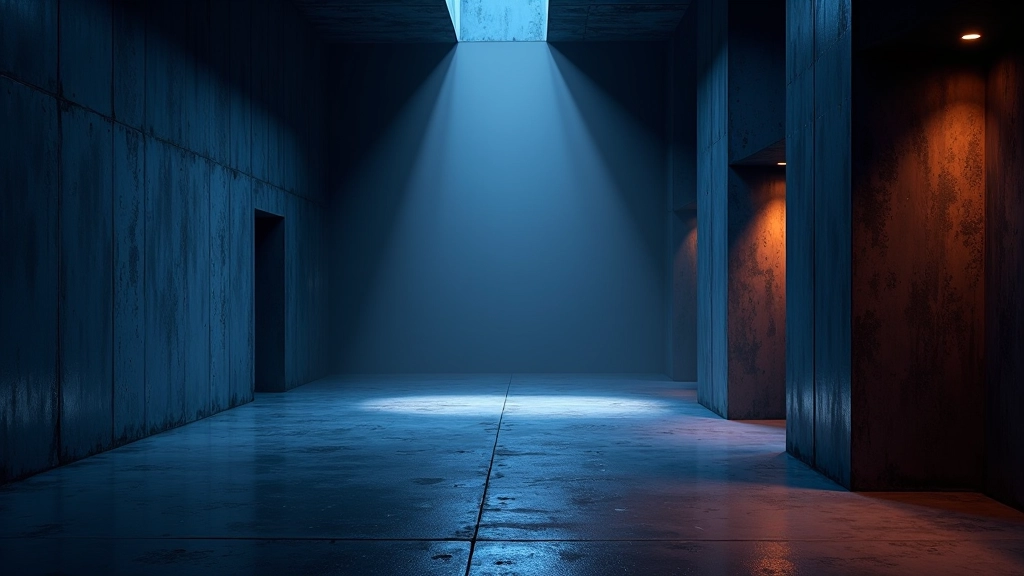
Materials aren’t just decorative — they’re the language your scene speaks. When someone enters a virtual space, they don’t consciously think about the shader network behind a rusted steel door or the normal map under a weathered stone wall. What they do notice is whether it looks real, whether it feels tactile, whether it belongs in the world you’ve built.
The difference between a flat, unconvincing surface and a believable one often comes down to understanding a few core principles. You’ll learn those principles here. We’re not talking about theoretical physics — we’re talking about practical techniques you can implement right now in Unreal Engine. Texture resolution matters. Surface properties matter. The way light bounces off materials matters. But most of all, understanding what you’re trying to achieve matters.

Physically Based Rendering isn’t some exotic new technology. It’s been the industry standard for years now, and it’s in Unreal Engine by default. What PBR does is simple: it mimics how light actually behaves in the real world. No guessing, no magic numbers that work sometimes.
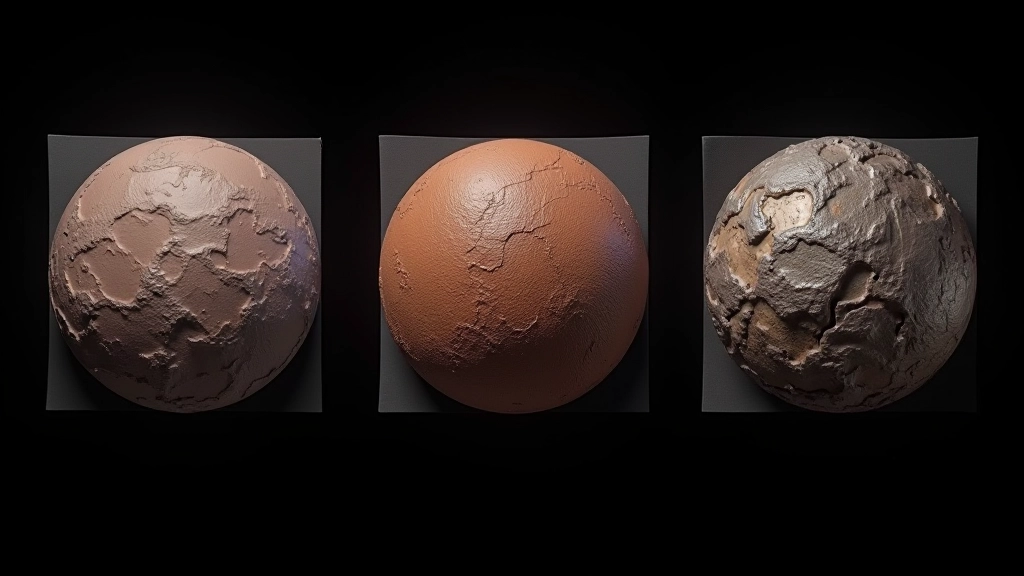
The core of PBR uses three main texture maps. First, you’ve got your base color — that’s the pure color of the surface with no lighting information baked in. Then roughness, which tells the engine how much light scatters across the surface. A polished metal has low roughness, maybe 0.1 or 0.2. Concrete’s rougher — somewhere around 0.7 or 0.8. Finally, metallic, which simply tells the engine whether you’re dealing with a metal (1.0) or something else (0.0). In between values work for special cases.
Here’s what makes PBR work: these values are based on real measurements. You’re not making up numbers. You’re using values that actually match how these surfaces behave. That’s why the results look convincing. That’s also why it’s so much easier than the old ways.

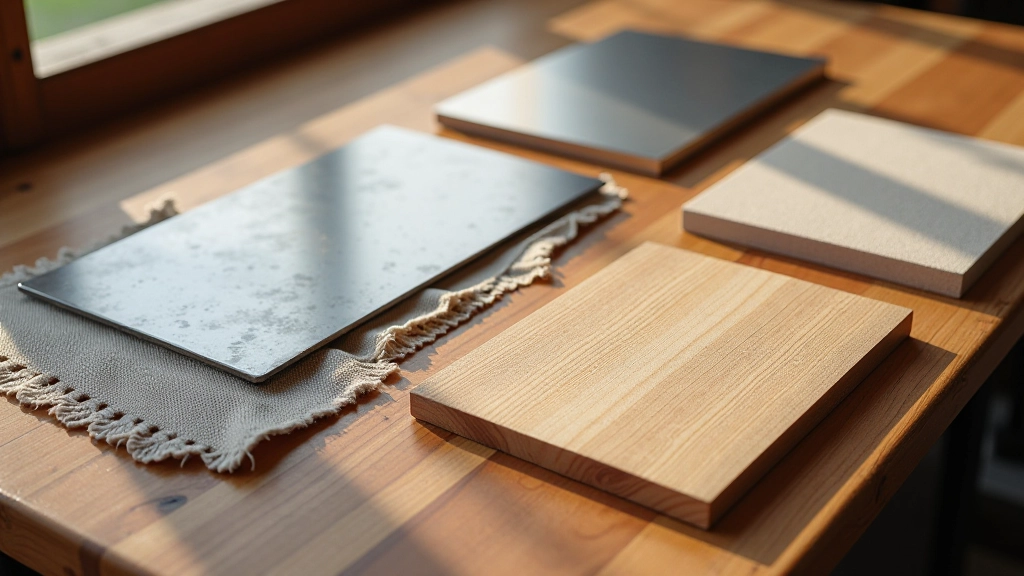
You can’t just throw any texture into Unreal and expect it to work. Resolution matters more than you’d think. For hero assets — things the camera gets close to — you’re looking at 2K or 4K. That’s 2048×2048 or 4096×4096 pixels. For background elements that sit further away, 1K works fine. Go lower and you’ll see texture stretching. Go higher on everything and you’ll tank your performance.
File format is critical too. Use TGA or PNG for your textures, never JPG. JPG compression artifacts will destroy your normal maps and roughness data. When you import into Unreal, turn off compression for your normal maps — that’s non-negotiable. Your roughness and metallic maps can handle sRGB disabled, which actually improves accuracy.
The real trick is understanding your source material. If you’re pulling textures from a library like Megascans or creating them in Substance Painter, you’ve already got properly calibrated values. But if you’re photographing real surfaces or hand-painting, you need to be meticulous about those roughness values. A photo reference gives you color, but roughness? That’s something you’ll develop an eye for over time.
Single materials look flat. Real surfaces are complex — they’ve got multiple layers of variation. Weathered metal isn’t just rusty everywhere. It’s rusty in cracks and crevices, pristine on raised edges. That’s where material blending comes in. Don’t think of it as complicated. Think of it as layering paint.
In Unreal’s Material Editor, you’ll use layer blend modes to combine different surface properties. Maybe you start with a base metal material — clean, polished. Then you layer in wear patterns using a mask. The mask is just a grayscale image that tells the engine where to apply the wear. Black means no wear, white means full wear, grays are the transition zones. Most of the time you’re working with values between 0.3 and 0.7 for believable transitions.
The secret to convincing layering is restraint. Don’t make everything equally worn or damaged. Real wear follows logic — sharp edges wear faster, protected surfaces stay pristine, and the wear pattern matches how the object would actually be used. A door handle’s worn smooth from hands. A floor is worn along the path people walk. Think about the story the material tells.

Here’s something that’ll save you weeks of work: build a reusable material library from day one. Don’t create new materials for every single surface. Instead, create master materials with parameters that you can adjust. That polished metal you created for one project? Make it parametric. Change the roughness value and the color through a parameter instead of baking them in. Now you’ve got one material that can be wood, metal, plastic, or stone depending on what values you plug in.
Organize your materials by category. Create folders for metals, fabrics, stone, wood, organic surfaces. Within each category, build a few base variations — clean versions and weathered versions. When you start a new project, you’re not starting from scratch. You’re building on a foundation that already works.
The efficiency gains are real. What takes 4 hours to build the first time takes 30 minutes the second time because you’re not figuring out the shader logic again. You’re just adjusting parameters. That’s the difference between a professional pipeline and hobbyist work.
Creating convincing materials isn’t magic. It’s understanding a few core principles — how light interacts with surfaces, how textures work together, how to organize your workflow for efficiency. You’ve now got those principles. You understand PBR. You know how to prepare textures correctly. You understand layering and blending. You know how to build a library that’ll save you time on every future project.
The next step is practice. Find a simple object — a mug, a wooden crate, a metal pipe — and create materials for it. Look at reference photos. Study how light behaves. Pay attention to where wear occurs naturally. Start simple and build complexity. Your first materials won’t be perfect. That’s fine. By your tenth material, you’ll have developed an intuition for what works and what doesn’t.
The difference between a scene that looks good and a scene that looks real often comes down to materials. Spend time on them. It’s worth it.
This article provides educational information about material creation and texture techniques in Unreal Engine. The principles and workflows described are based on industry-standard practices and may vary depending on your specific project requirements, hardware capabilities, and artistic goals. Results depend on individual skill level, artistic vision, and the particular assets you’re working with. This content is for learning purposes and doesn’t guarantee specific outcomes. Always refer to official Unreal Engine documentation and test techniques in your own projects.