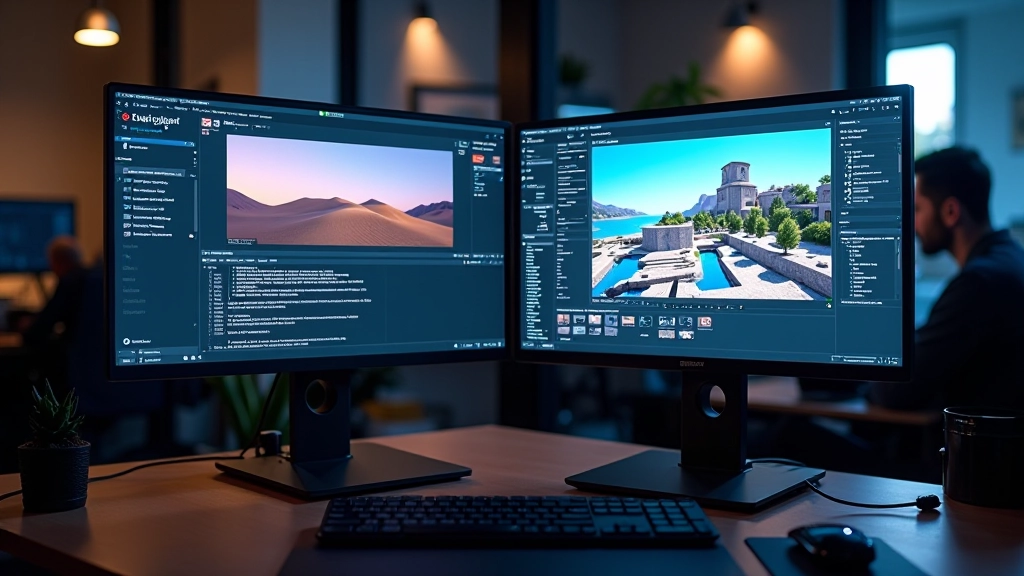
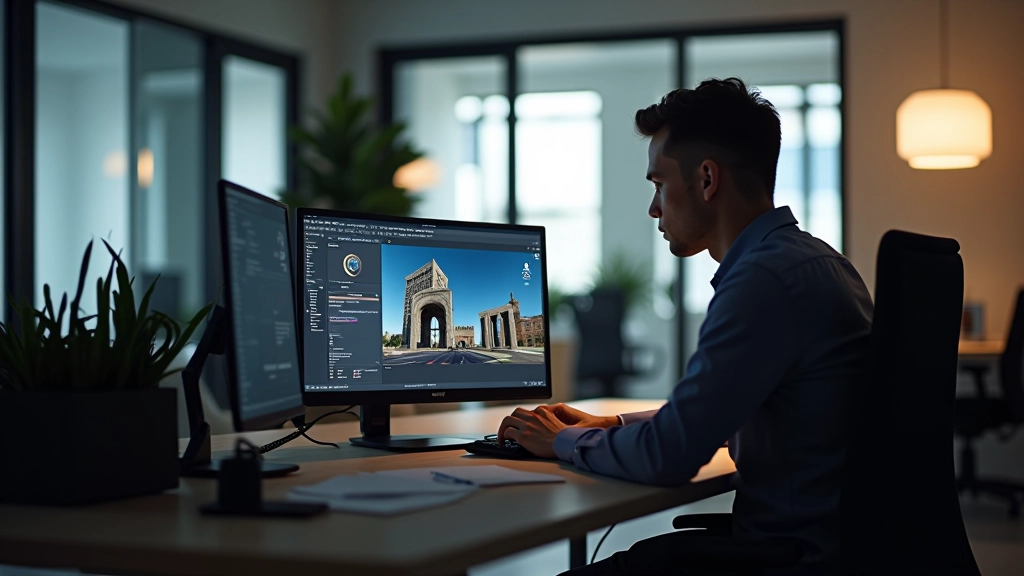
Building Your First Outdoor Environment
Start with terrain sculpting, vegetation placement, and basic landscape composition.
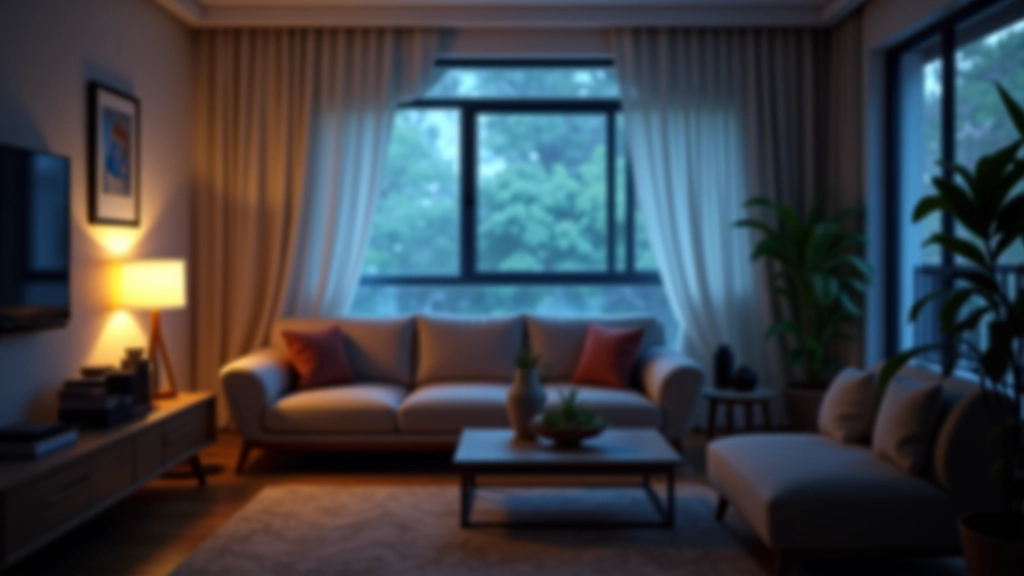
Read MoreLearn how to use directional, point, and spot lights to create stunning atmospheres in your virtual worlds
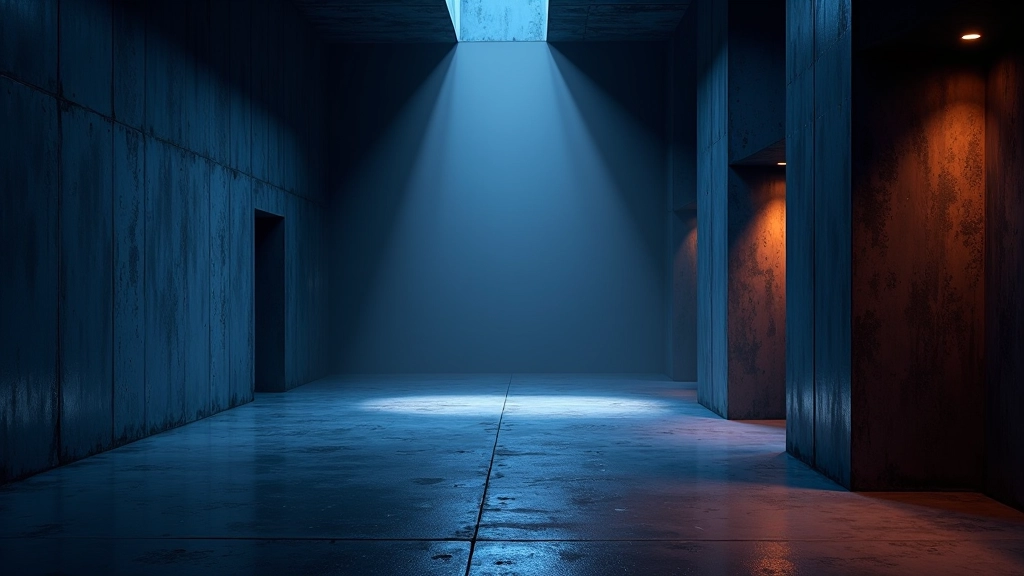
Lighting isn’t just about making things visible — it’s about telling a story. The right light transforms a basic scene into something immersive and believable. Whether you’re building architectural visualizations, game environments, or cinematic moments, understanding light types and how they interact with your world is fundamental to professional-quality results.
In Unreal Engine, you’ve got three primary light types to work with, and each one serves a specific purpose. Directional lights mimic sunlight or distant sources. Point lights emit in all directions from a single spot. Spot lights cast focused beams like flashlights or stage lighting. Knowing when and how to use each one separates polished environments from amateur work.
Let’s start with directional lights. These simulate light coming from infinitely far away — think of sunlight streaming through your scene. It’s the most common light type you’ll use because it’s computationally efficient and creates natural-looking shadows. When you set a directional light, the angle and intensity matter far more than the position. A 45-degree sun angle at high intensity creates different moods than a low sunset light.
Point lights work differently. They’re positioned in 3D space and emit light in all directions equally. This is perfect for practical lights like lamps, glowing orbs, or emergency lighting. The radius determines how far light travels — too large and your scene gets washed out, too small and the light feels isolated. Most professional scenes use multiple point lights at different intensities to build depth and visual interest.
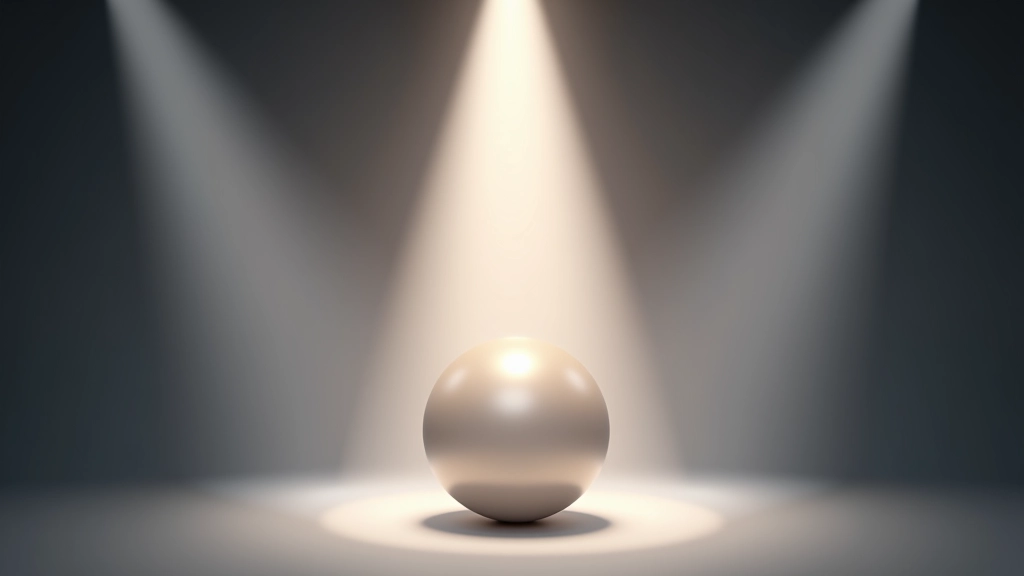
Spot lights are your focused beams. They have a position, direction, and cone angle. Use them for theatrical effects, searchlights, or focused illumination. The cone angle controls the spread — narrow cones create dramatic pools of light, while wider angles provide softer general illumination. You’ll often see spot lights used for accent lighting on architectural features or dramatic character lighting in cinematic scenes.
Setup matters more than you’d think. Start by establishing your primary light source — usually a directional light that acts as your sun or main illumination. This should cast definitive shadows and set the overall mood. A warm-toned directional light at medium intensity creates a completely different feeling than cool bluish light at high intensity.
Next, add fill lighting to prevent your scene from getting too dark in shadowed areas. You don’t want pure black shadows — they kill detail and make scenes feel flat. Soft, lower-intensity lights opposite your main source create gentle fill without looking artificial. This is where subtle color shifts matter. If your main light is warm orange, your fill might be cool blue, creating visual interest while maintaining balance.
Finally, layer in accent lights. These practical lights — lamps, monitors, neon signs — breathe life into a scene. They’re typically bright point lights with smaller radii, positioned to highlight specific details. A glowing monitor in a dark office, warm light spilling from a doorway, or neon signage reflecting off wet pavement — these details transform a generic space into somewhere believable.
Here’s what separates amateur lighting from professional work: attention to intensity values and color temperature. Most beginners crank everything to maximum intensity, which washes out detail and creates an unrealistic, video-game-like appearance. Instead, think in terms of ratios. If your main light is 1.5 intensity, your fill might be 0.4, and accent lights perhaps 0.6 to 1.2 depending on their proximity and purpose.
Professional cinematography uses a three-point system: key light (main), fill light (opposite side), and back light (separation). Unreal Engine works the same way. Your directional light is the key. A softer point light at 30-40% intensity from the opposite direction becomes your fill. A subtle spot light from behind creates separation and dimension. This approach works for characters, products, architectural features — anything you want to look polished.
Color temperature is equally important. Warm lights (orange, yellow tones) feel inviting and intimate. Cool lights (blue, cyan tones) feel clinical or mysterious. Don’t use pure white — it looks artificial. Instead, warm your directional light toward orange-yellow, and cool your fill toward blue-cyan. The contrast between warm and cool creates visual depth and makes scenes feel more cinematic.
You can’t just add unlimited lights and expect good performance. Real-time rendering has limits. Directional lights are cheap — one per scene is standard. Point and spot lights are more expensive because they calculate light falloff per-pixel. A scene with 50 dynamic lights will tank your frame rate. Instead, aim for 1 directional light, 5-8 point lights maximum, and use baked lighting for static geometry whenever possible.
Baked lighting precomputes light interactions and stores them in lightmaps. Walls, floors, architectural details — these rarely move, so baking their lighting saves enormous performance overhead. You’re still free to add dynamic lights for moving objects and interactive elements. The combination of baked and dynamic lighting gives you the best of both worlds: beautiful static lighting with responsive real-time effects.
Mastering lighting takes practice, but the principles are straightforward. Start with one directional light and understand how angle and intensity affect your scene. Add fill lighting to create dimension. Layer in accent lights strategically. Use color temperature to create mood and depth. Monitor performance and use baking for static geometry. These fundamentals apply whether you’re building architectural visualizations, game environments, or cinematic sequences.
The best way to improve is to study real-world lighting. Notice how sunlight creates shadows. Watch how practical lights like lamps cast their glow. Observe how colors interact in different times of day. Then recreate those observations in your Unreal Engine scenes. You’re not just learning software — you’re learning to see like a cinematographer.
This guide provides educational information about lighting techniques in Unreal Engine based on industry practices and software documentation. Results depend on your specific hardware, Unreal Engine version, and project settings. We recommend consulting official Unreal Engine documentation and experimenting with your own scenes to understand how these principles apply to your work. Lighting behavior may vary across different rendering quality settings and platforms.