Character Modeling From Reference to Final Asset
Learn the complete workflow from reference photography through sculpting, retopology, and final asset preparation for game engines.
Read ArticleStart with terrain sculpting, vegetation placement, and basic landscape composition. We’ll walk through the core tools you’ll use in nearly every project.
When you’re starting out with Unreal Engine, the landscape tools can feel overwhelming. There’s the terrain system, the foliage painter, material layering, water systems — it’s a lot. But here’s the thing: you don’t need to master everything at once. The fundamentals are straightforward, and once you understand how terrain sculpting works and why you place vegetation the way you do, everything else builds from there.
This guide walks you through what actually matters when you’re building your first outdoor scene. We’re talking real workflows, not theoretical concepts. You’ll see exactly how to set up your terrain, what the common sculpting mistakes look like, and how to place assets so your environment feels alive instead of empty.
The landscape tool in Unreal is built for performance. Unlike traditional modeling, it’s designed to handle massive outdoor areas without crushing your frame rate. That’s because landscapes use height maps — essentially grayscale images that define elevation across your terrain.
Here’s what happens when you create a landscape: you’re defining the base grid resolution, usually between 6363 and 505505 quads. Larger grids mean more detail but heavier performance cost. Most beginners start with something like 127127 or 255255, which gives you enough detail to sculpt meaningful hills and valleys without your computer struggling.
The sculpting tools themselves are straightforward. You’ve got the sculpt brush for raising and lowering terrain, the smooth brush for blending rough areas, and the flatten brush for creating cliffs or plateaus. The key is understanding that you’re painting elevation, not carving geometry. Start with a low brush strength — something like 0.3 to 0.5 — so you can build up height gradually instead of creating jagged spikes.
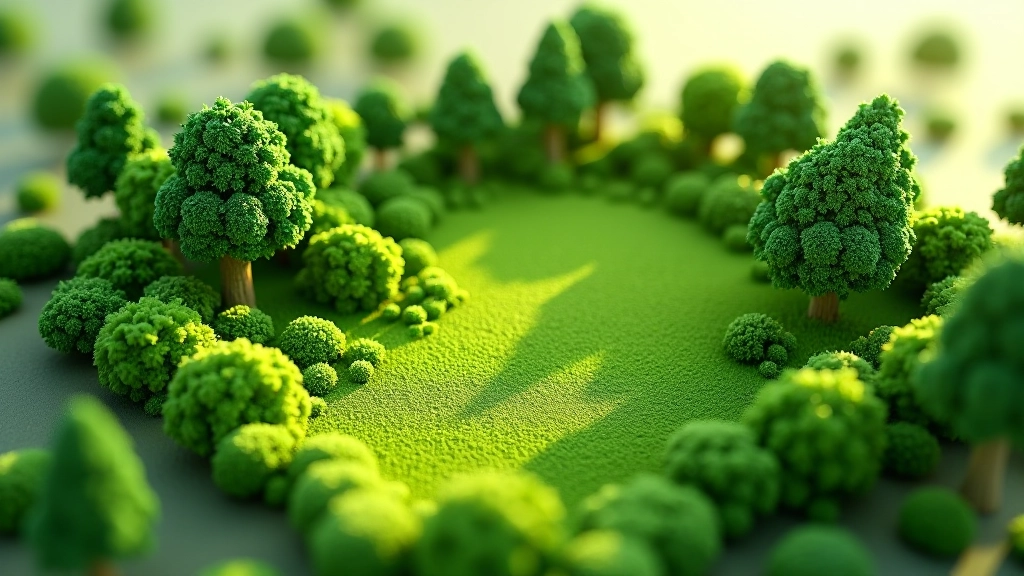
Once you’ve got terrain shape that feels natural, vegetation brings it to life. The foliage painter in Unreal lets you place trees, shrubs, and grass across your landscape using brushes. You’re not placing individual trees manually — that’d take forever. Instead, you’re using procedural placement with randomization.
The mistake most people make is placing vegetation too densely. They want their environment to feel full and detailed, so they crank up the density slider to maximum. What you actually get is a cluttered mess where trees overlap, performance tanks, and nothing looks natural. Real forests have gaps. Meadows have sparse trees, not solid coverage.
Start with lower density — maybe 20-30% coverage for a forest area — and layer different types of vegetation. Place large trees first, then add medium-sized bushes in the gaps, then scatter ground cover like grass and small plants. This layering creates depth and visual interest. You’re building a composition, not filling empty space.
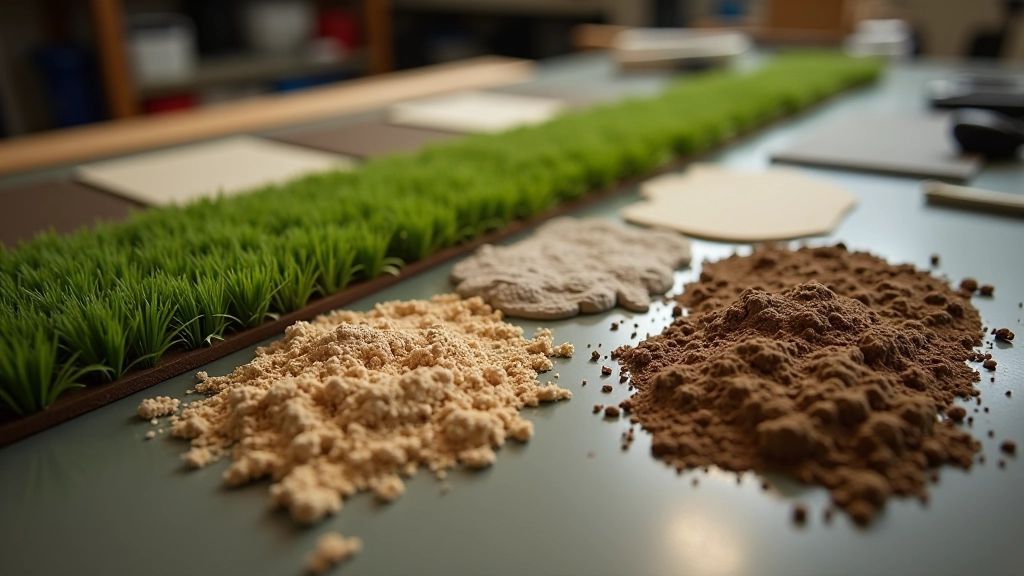
Terrain materials in Unreal work differently than static meshes. You’re not applying a single material to the whole landscape. Instead, you’re blending multiple materials across the surface using layer information. This is how you get grass in meadows, dirt on hillsides, and rock on cliffs — all on the same terrain actor.
The landscape material layer system uses masks — essentially grayscale guides that tell the engine where each material should appear. You paint these masks with the foliage painter or manually using material layers. A common setup is grass on flat areas, dirt on slopes above 45 degrees, and rock on very steep surfaces.
Here’s a practical workflow: start with a simple two-layer material — grass and dirt. Use the landscape layer blend by angle feature to automatically transition between them based on terrain slope. That gives you immediate visual variety without manual painting. Then add detail using a third layer for rock or gravel in specific areas. You don’t need a dozen material layers. Three to five is usually enough for convincing outdoor environments.
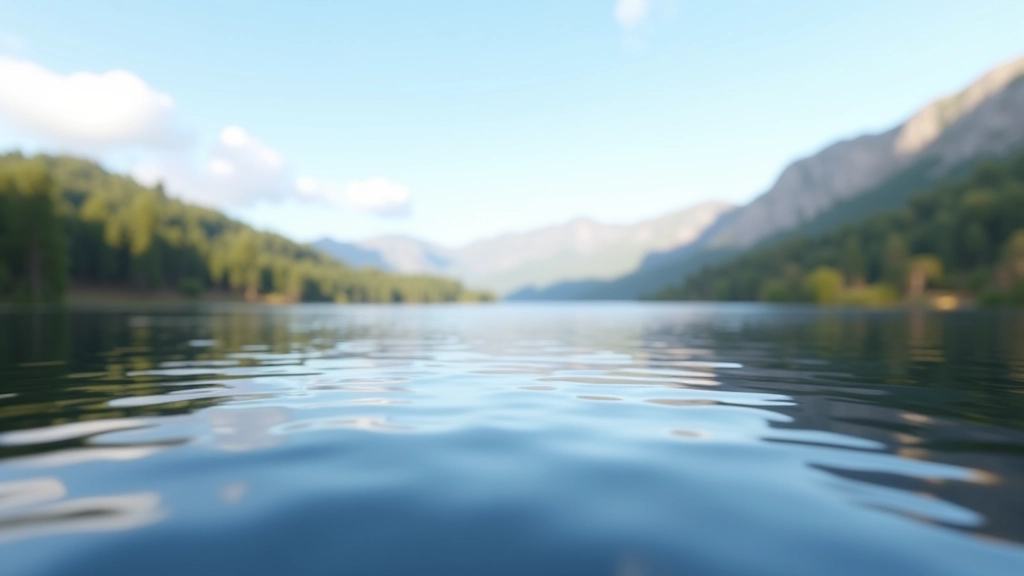
Water features transform outdoor environments. You’re not adding complex simulations here — just simple water bodies that reflect the sky and add visual interest. In Unreal, you can create water using either the water plugin (which gives you wave simulation and realistic reflections) or static water meshes for simpler ponds and lakes.
The water plugin handles a lot automatically. It creates waves, calculates reflections, and responds to the landscape underneath. You define the water body shape, adjust wave height and frequency, and you’re done. It’s not as heavy as full fluid simulation but looks dramatically better than flat planes.
Beyond water, small details make environments feel real. Rocks scattered on slopes, logs near water, patches of flowers in clearings — these aren’t essential, but they’re the difference between “looks finished” and “looks alive.” Use the foliage painter for these too. Place them sparingly, following natural patterns. A few well-placed rocks look better than dozens scattered randomly.
Building your first outdoor environment isn’t about mastering every system. It’s about understanding how the pieces work together. You start with terrain sculpting to create natural landforms. You layer vegetation to add life and depth. You blend materials to define ground surfaces. And you add water and details to make the space feel inhabited.
The workflow becomes natural after a few projects. You’ll develop instincts about brush strength, vegetation density, and material layering. You’ll spot when something looks wrong — when trees are too uniform, when slopes are too sharp, when materials don’t transition smoothly. That’s when you know you’re building environments, not just placing assets.
Start small. Build a 500500 meter area with varied terrain, some trees, water, and basic materials. Spend time sculpting that feels organic rather than trying to cover huge distances quickly. Polish teaches more than scale. Once you’ve built one environment you’re genuinely proud of, you’ll understand the fundamentals well enough to build anything.
Disclaimer: This guide is educational and intended to help you understand landscape creation workflows in Unreal Engine. Specific techniques, tool names, and interface details are current as of Unreal Engine 5.4. Always refer to official Epic Games documentation and community resources for the most up-to-date information, as software features and best practices evolve with each engine release.